Aquarelle water-soluble pencils are a wonderful thing.
As you use them on dry paper, your work looks like a drawing; but just add some water, and lo and behold, the work turns into a painting.
Let’s Experiment: Four Watercolor Pencil Techniques
I usually take the tool out of my big art box to finish a nearly finished watercolor. A sharpened pencil tip is ideal for creating detailed, delicate marks; the same effect may be hard to achieve, even with very thin brushes.
The medium is capable of basic techniques, though.
There are a wide variety of techniques:
- using aquarelle pencils as regular colored ones;
- applying colors on a wet paper;
- drawing with a wet pencil point on a dry surface;
- smudging hatched areas with a wet brush (or a sponge).
In my opinion, the last method produces the most interesting results. For example, look at the basset hound from the YouTube channel Art.
At first, the drawn dog appears a bit inanimate. It comes to life after the artist has soaked its coat and intensified the watercolor effect.
Use a technique similar to that.
Step-by-step Instructions
First. prepare the art tools:
- thick watercolor paper or heavy board;
- a graphite pencil, three or five brushes of different sizes (both nylon and natural ones work well);
- a glass of water;
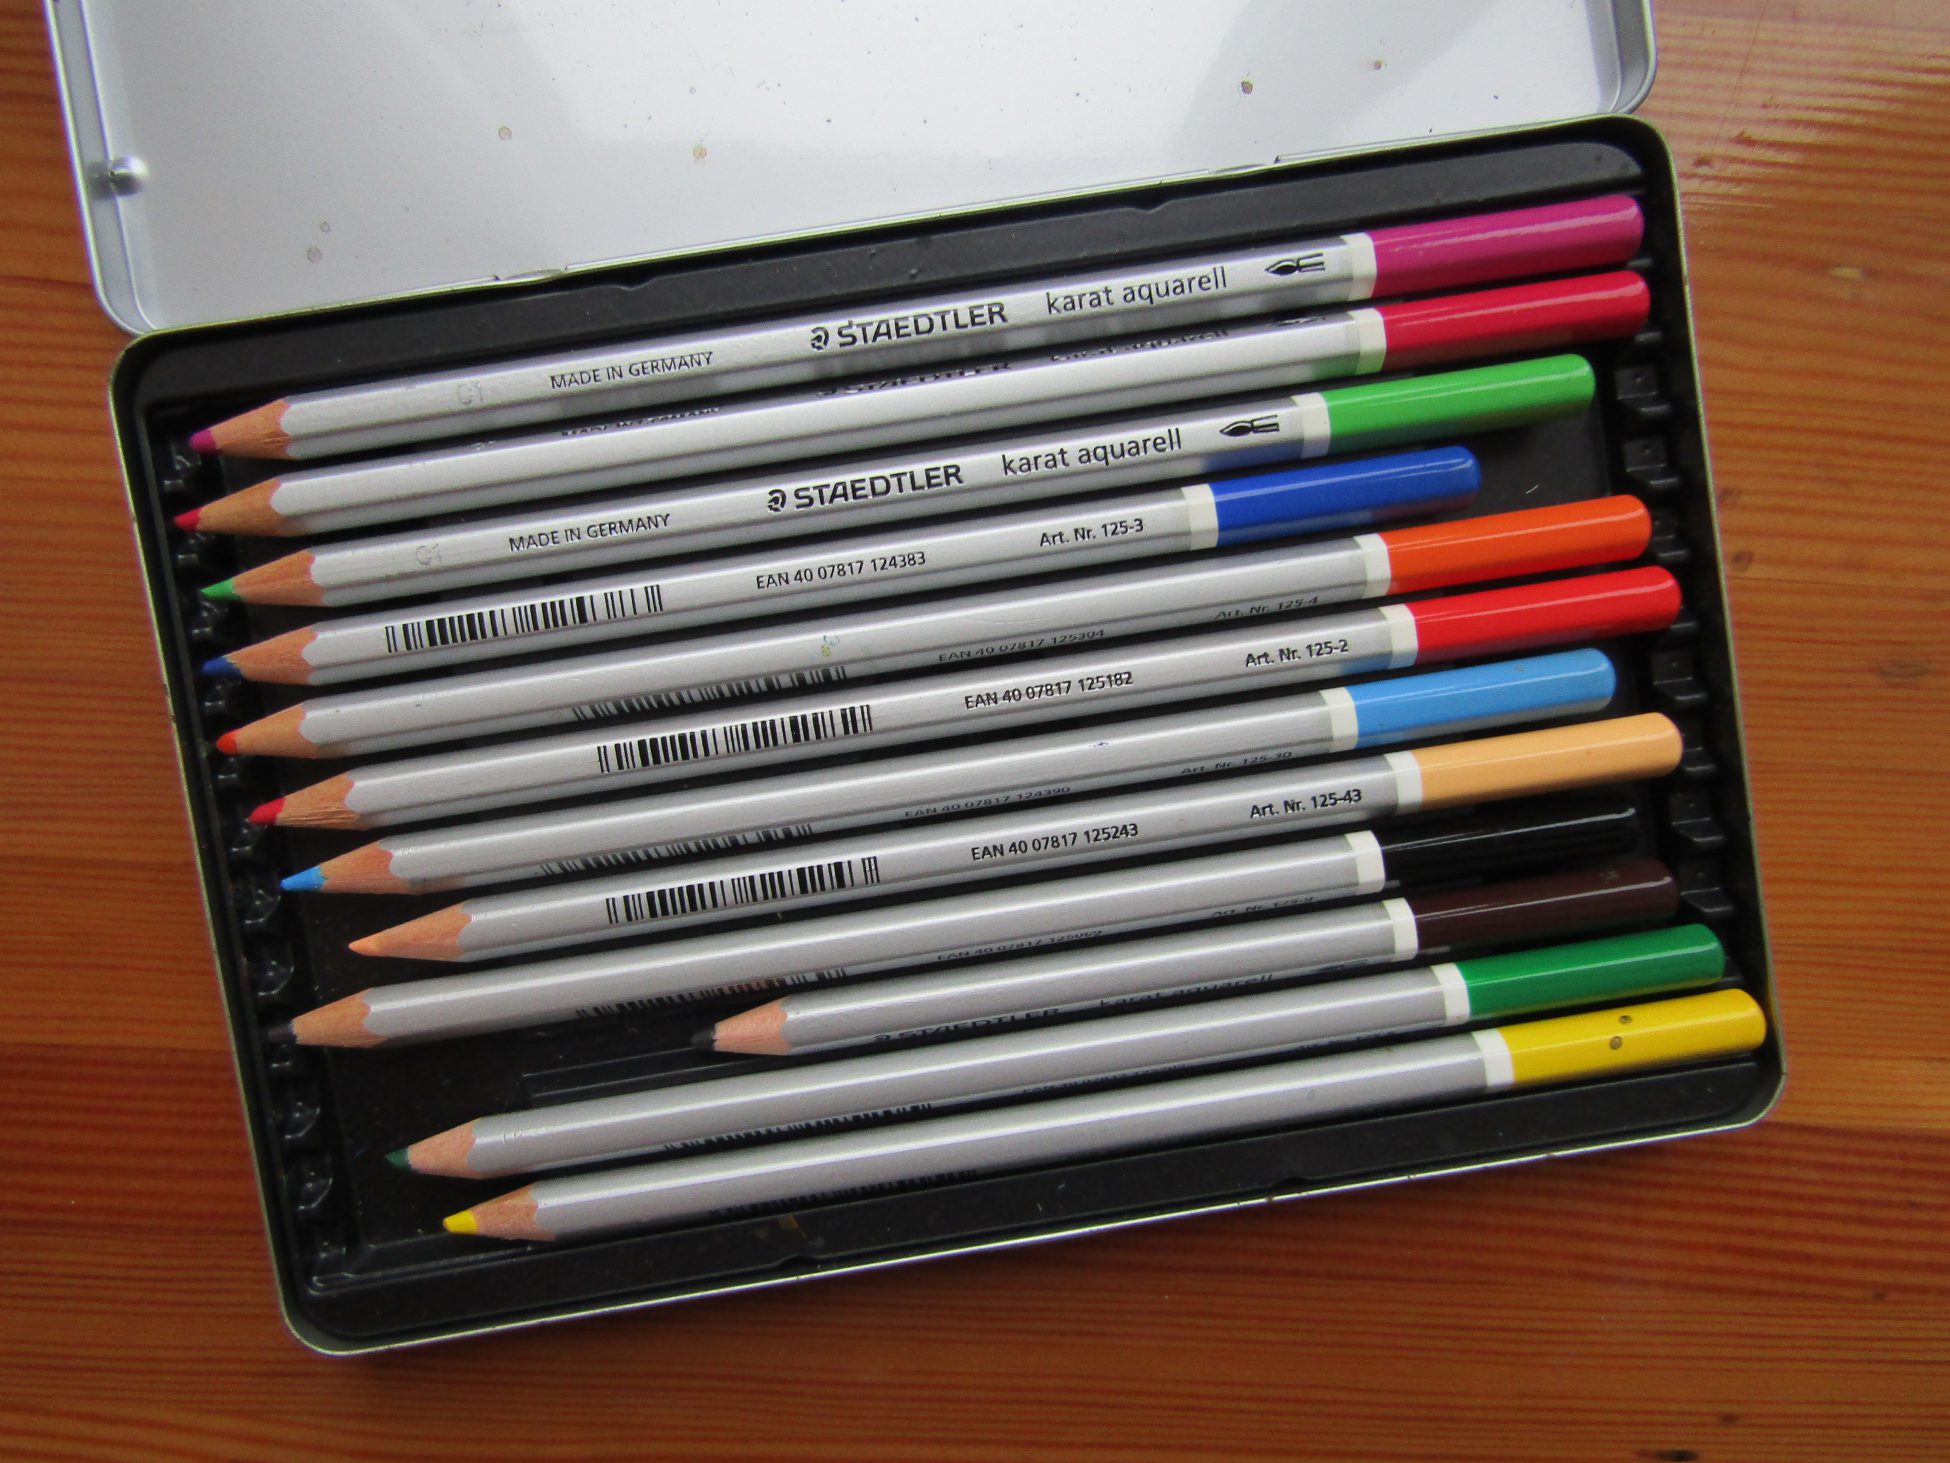
- a set of 24 or more watercolor pencils (Staedtler Karat, Derwent, Prismacolor, or another)
I’m sure, that 12 colors are too few unless you have been using a specific product or brand for years: it will be too difficult for you to get all the necessary colors by mixing.
What about the model to draw from? If I were you, I would start with a bright, multicolored object such as a bird, flower, or bowl of fruit.
- Sketch rough outlines of the object. Don’t worry about details, you’ll add them later.
- Fill the outlines with base colors. Mix colors through layering when necessary. Be careful about the direction of your pencil strokes, especially if you draw fine lines like hairs or grass.
- Shade some elements to get the effect of volume. Suppose you want to depict a green leaf… Add some dark green and brown.
- Brush water onto your drawing, activating the lighter areas first. Do it gently.
- The work will have dried in two minutes; then you can repeat the process.
Practice makes perfect, and if you make any mistakes, that’s absolutely normal. The watercolor’s pigments often become darker after wetting. All you need is time to adjust to it.

*If you buy something through the banner I will earn a commission, at no cost to you. More info